How to Choose the Right Wattage for Outdoor Speakers?
How to Choose the Right Wattage for Outdoor Speakers?
When it comes to creating the perfect outdoor atmosphere—whether it's a backyard barbecue, a pool party, or a patio chill-out session—the right speaker power matters. Choosing outdoor speakers with the appropriate wattage ensures your music is loud and clear, without being overpowering or underwhelming.
In this guide, we’ll break down how to select the ideal speaker wattage based on your outdoor space and usage scenario.
1. What Does Speaker Wattage Mean—And Why Is It Important?
Speaker wattage (W) refers to the amount of power a speaker can handle. In simple terms, higher wattage generally means louder sound. But in outdoor spaces, sound disperses faster than indoors—so you need more power to achieve the same effect.
- Higher wattage = louder sound
- But “louder” doesn’t mean “better”—it must fit your space
2. Wattage Recommendations by Outdoor Space Size
| Outdoor Area Size | Recommended Wattage (Per Speaker) | Suggested Quantity |
|---|---|---|
| Small Patio (10–30㎡) | 100W–200W | 2 speakers |

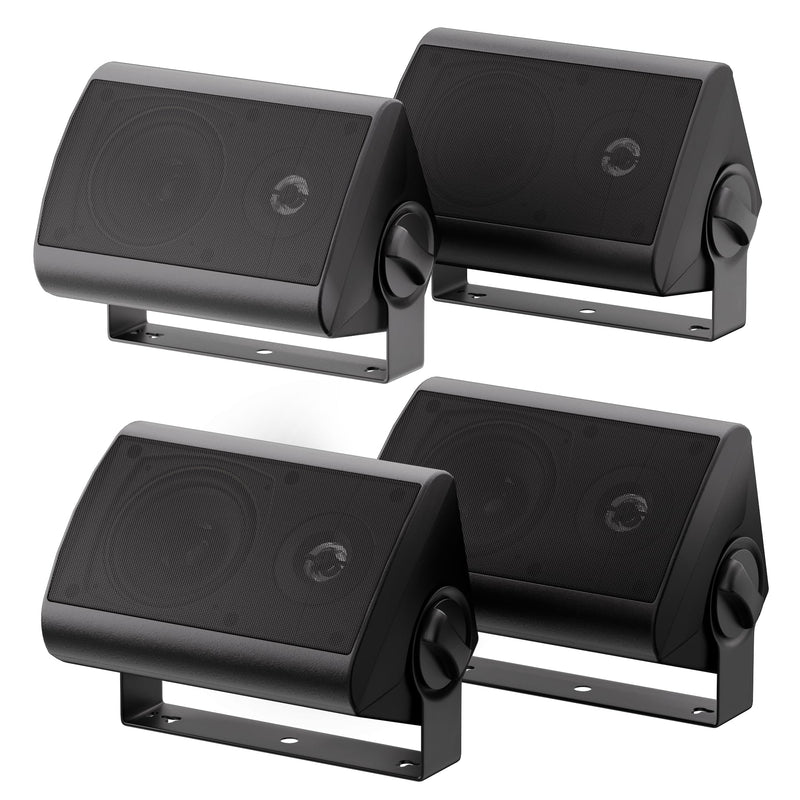
Herdio 4″ Outdoor Wall Speakers (200 W)
🔊 Compact and weatherproof—perfect for patios, balconies, or RV setups with full-range sound.
- 200 W Peak Power
- IP66 Waterproof: Withstands rain, dust, and UV exposure
- Adjustable Mount: Wall-mount bracket included
| Outdoor Area Size | Recommended Wattage (Per Speaker) | Suggested Quantity |
|---|---|---|
| Medium Garden (30–60㎡) | 200W–400W | 2–4 speakers |

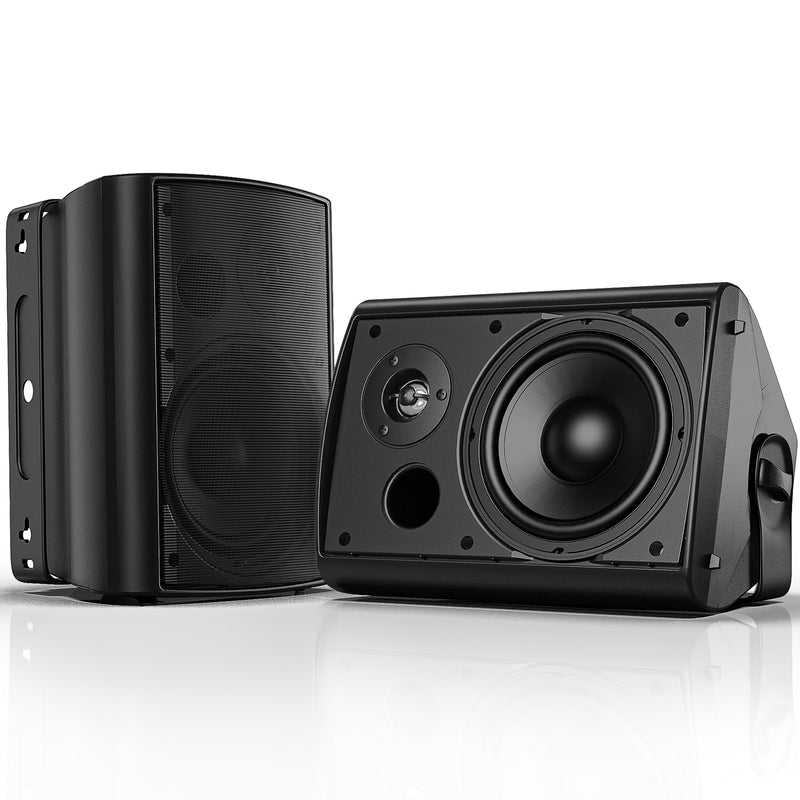
Herdio 6.5″ Bluetooth Outdoor Speakers (400 W)
🎧 Ideal for backyard parties and patio lounging—Bluetooth-ready and weatherproof for all seasons.
- 400 W Peak Output
- Built-in Bluetooth: Connects up to 65 ft
- Weather-Resistant: Durable IP66 build
| Outdoor Area Size | Recommended Wattage (Per Speaker) | Suggested Quantity |
|---|---|---|
| Large Backyard (60㎡+) | 400W–800W+ | 4–6+ speakers |

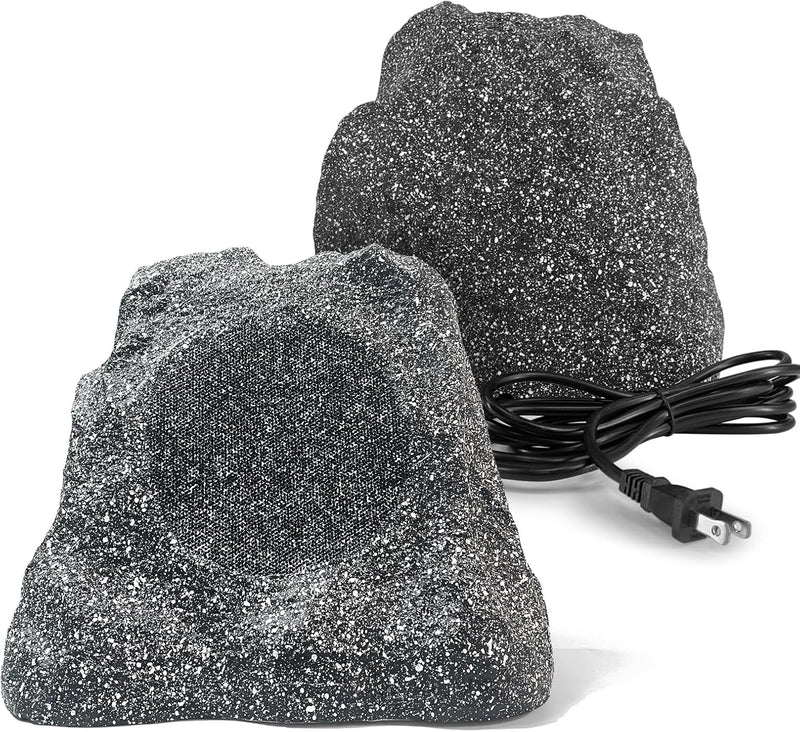
Herdio 8″ Rock Bluetooth Speakers (600 W)
🪨 Real rock look meets booming sound—perfect for gardens, poolsides, and outdoor businesses.
- 600 W Peak Power
- Discreet Rock Design: Blends naturally with your landscape
- Bluetooth + Wired: Flexible connection options
💡 Tip: Use multiple speakers for better coverage in irregularly shaped spaces.
3. Best Wattage by Usage Scenario
✅ Family Gatherings & Camping: 200W–400W Bluetooth Speakers
- Why? Portable, wireless, and easy to set up
- Recommendation: Herdio 6.5" Bluetooth Outdoor Speaker (400W)
✅ Pool Parties & Villas: 400W–800W Waterproof Wall-Mount Speakers
- Why? High volume and designed for weather resistance
- Recommendation: Herdio All-Weather Wall Speakers (600W/800W)
✅ Commercial Spaces (e.g., cafés, farms): Multiple 200W–400W Units
- Why? Balanced sound coverage across wide areas
- Suggestion: Combine in-ceiling and wall-mounted speakers
4. Other Key Factors Besides Wattage
- Weatherproofing (IPX5 or higher): For rain, heat, and outdoor humidity
- Bluetooth + Wired Mode: To connect easily with different devices
- Mounting Options: Wall-mount, ground-installation, or hidden setups
5. FAQ: Common Questions
Q: My balcony is only 20㎡—is 400W too much?
A: Not at all. Higher wattage doesn’t mean louder by default. It gives you clean sound at lower volumes without distortion.
Q: Will speakers be okay under sun or rain?
A: Yes—Herdio outdoor speakers are designed with all-weather resistance to work in any season.
6. Final Thoughts: Get the Right Wattage, Get Better Sound
The right speaker power brings your outdoor events to life—without blowing your budget or your neighbors’ eardrums. Think about your space, your usage needs, and how many speakers you really need. If you're unsure, our team is here to help.
🎧 Explore our full Outdoor Speaker Collection and upgrade your outdoor sound experience today!


