Installing ceiling speakers yourself isn't as complicated as it sounds. With the right tools and a little patience, most homeowners can complete a single-room installation in an afternoon. This guide walks you through every step — from planning the layout to making the final connection.
What You'll Need
- Ceiling speakers (Bluetooth or passive)
- Stud finder
- Drywall hole saw or jigsaw (sized to match your speaker cutout)
- Fish tape or wire snake (for running speaker wire through walls/ceiling)
- Speaker wire (for passive speakers) or power cable (for Bluetooth speakers)
- Voltage tester
- Drill and drill bits
- Pencil and painter's tape
- Screwdriver
Step 1: Plan Your Speaker Placement
Before cutting anything, decide where your speakers will go. For the best sound:
- Place speakers 2–3 feet from the wall, not in the center of the room
- For stereo listening, aim speakers slightly inward toward the main seating area
- Avoid placing speakers directly above a ceiling fan or light fixture
- Check above the ceiling (in the attic or upper floor) for joists, pipes, and ductwork before cutting
Use a stud finder to locate ceiling joists. You want to cut between joists, not into them.
Step 2: Check for Obstructions
Before cutting the hole, drill a small pilot hole and use a wire snake or bent coat hanger to feel for any obstructions above the drywall — pipes, ducts, or existing wiring. A voltage tester can confirm no live wires are nearby.
Step 3: Cut the Hole
Most ceiling speakers include a paper or cardboard cutout template. Tape the template to the ceiling, trace it with a pencil, then cut along the line with a drywall hole saw or jigsaw. Cut slowly and steadily to keep the edge clean.
Pro tip: Place painter's tape around the cut area before marking — it protects the ceiling paint and makes the pencil line easier to see.

Herdio Bluetooth In-Ceiling Speakers | Easy DIY Install
From $119.99
No amplifier needed. Built-in Bluetooth amp, included mounting template, tool-free dog-leg clamps. Installs in under 30 minutes per speaker.
Step 4: Run the Wire (Passive Speakers Only)
If you're installing passive (wired) ceiling speakers, you'll need to run speaker wire from your amplifier or AV receiver to each speaker location. The cleanest method is to run wire through the attic space above, then drop it down through the ceiling hole.
If attic access isn't available, use a fish tape to thread wire through interior walls. This takes more time but keeps everything hidden. Label each wire run at both ends to avoid confusion.
For Bluetooth ceiling speakers, you only need to run a standard power cable to an outlet — much simpler.
Step 5: Connect the Speaker
For passive speakers: Strip about 1/2" of insulation from each wire end. Connect positive to positive and negative to negative on the speaker's terminal block. Most Herdio speakers use a push-button spring terminal — press, insert wire, release.
For Bluetooth speakers: Connect the included power adapter to the speaker's power input. No speaker wire needed.
Step 6: Mount the Speaker
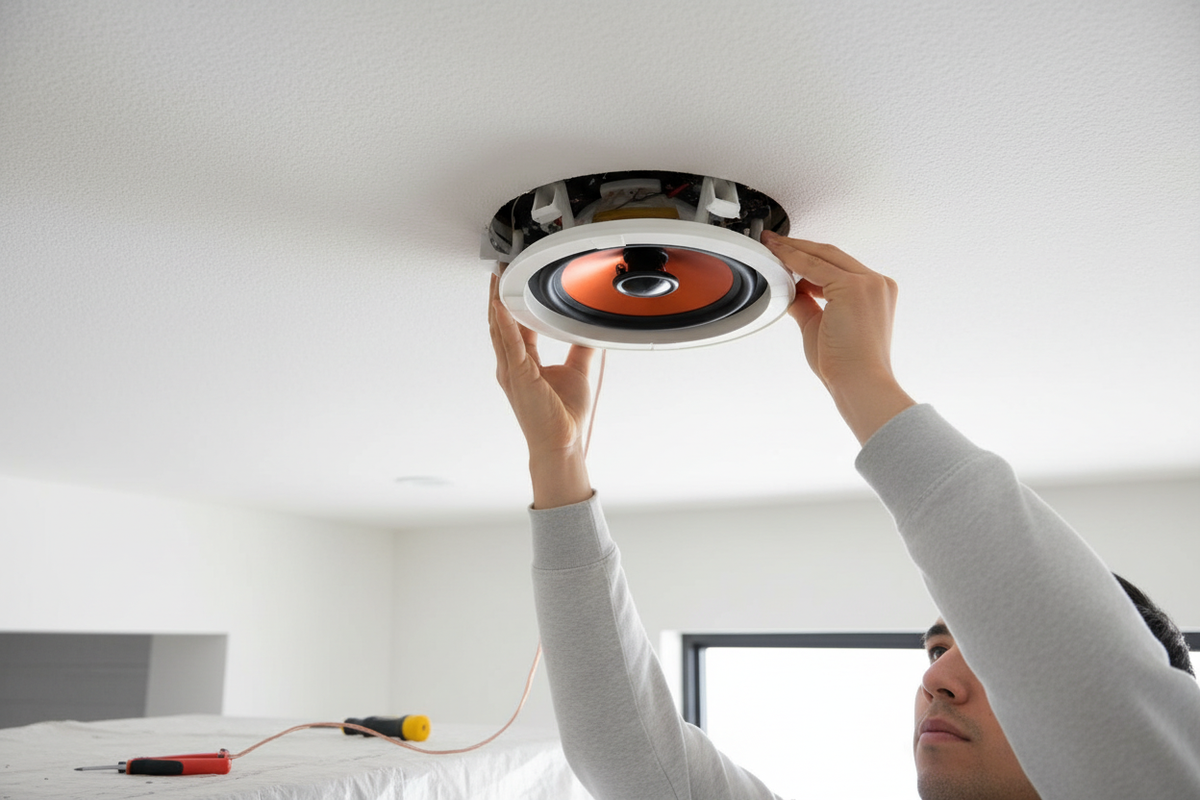
Fold the speaker's dog-leg mounting clamps inward, slide the speaker into the hole, then tighten the mounting screws. As you tighten, the clamps swing outward and grip the back of the drywall — no bracket or backer board required.
Once secure, snap the grille into place. Most Herdio grilles are paintable, so you can match them to your ceiling color for a truly invisible finish.
Step 7: Test and Adjust
Power on your amplifier or pair your Bluetooth device. Play some music and check:
- Both speakers are producing sound
- Left and right channels are correct (swap speaker wires if reversed)
- Sound is clear with no distortion at moderate volume
- The tweeter angle is adjusted toward your primary listening position
Common Installation Mistakes to Avoid
- Cutting into a joist — always use a stud finder and pilot hole first
- Reversing polarity — always match +/− on both ends
- Using wire that's too thin — use 14 or 16 AWG for runs up to 50 feet
- Skipping the pilot hole check — always probe for obstructions before cutting

Herdio Wired In-Ceiling Speakers 4"/6.5"/8" | 240W–800W
From $49.99
2-way flush mount ceiling speaker, dog-leg mounting clamps included, paintable grille. Connects to any amplifier or AV receiver.