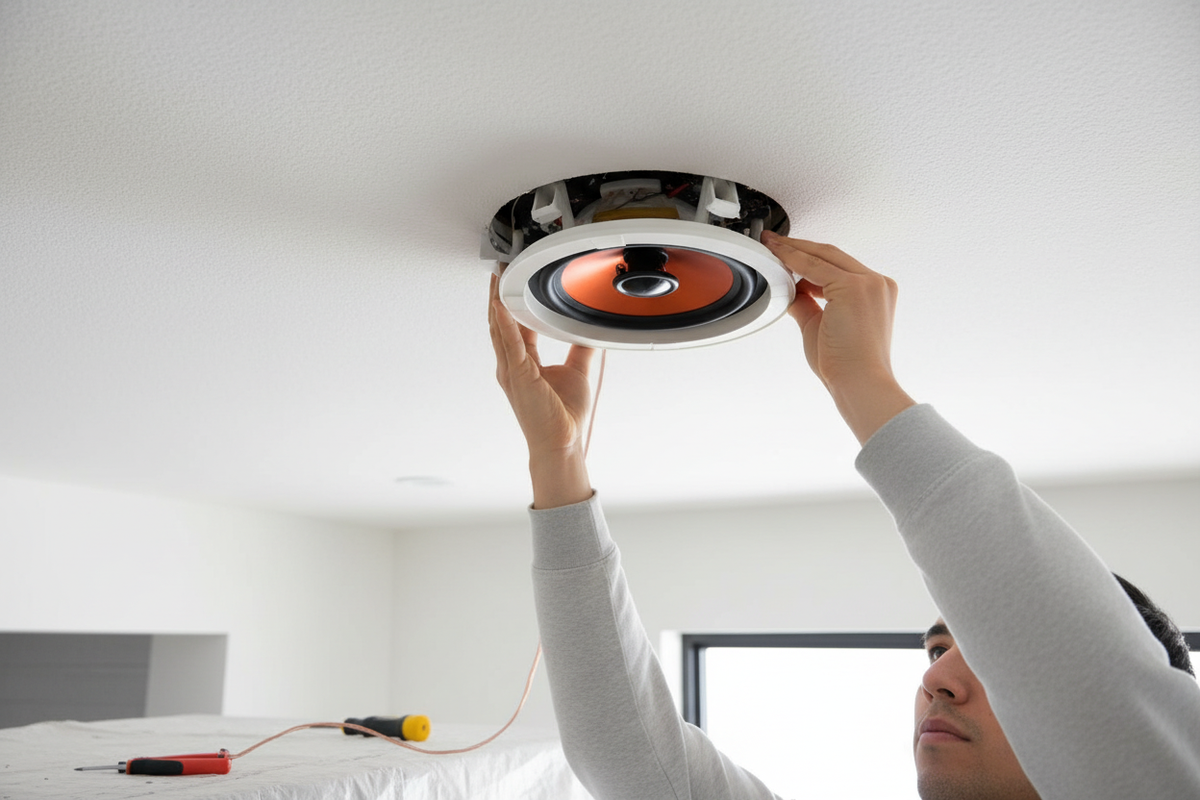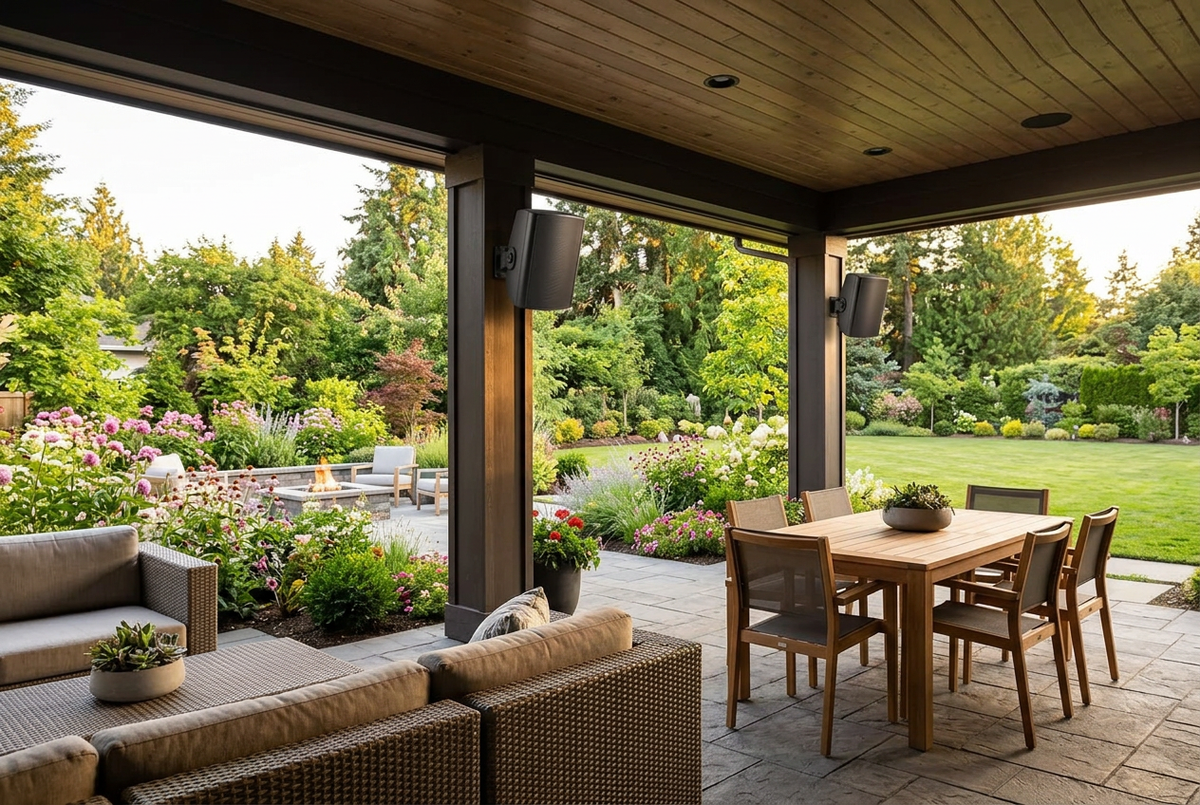
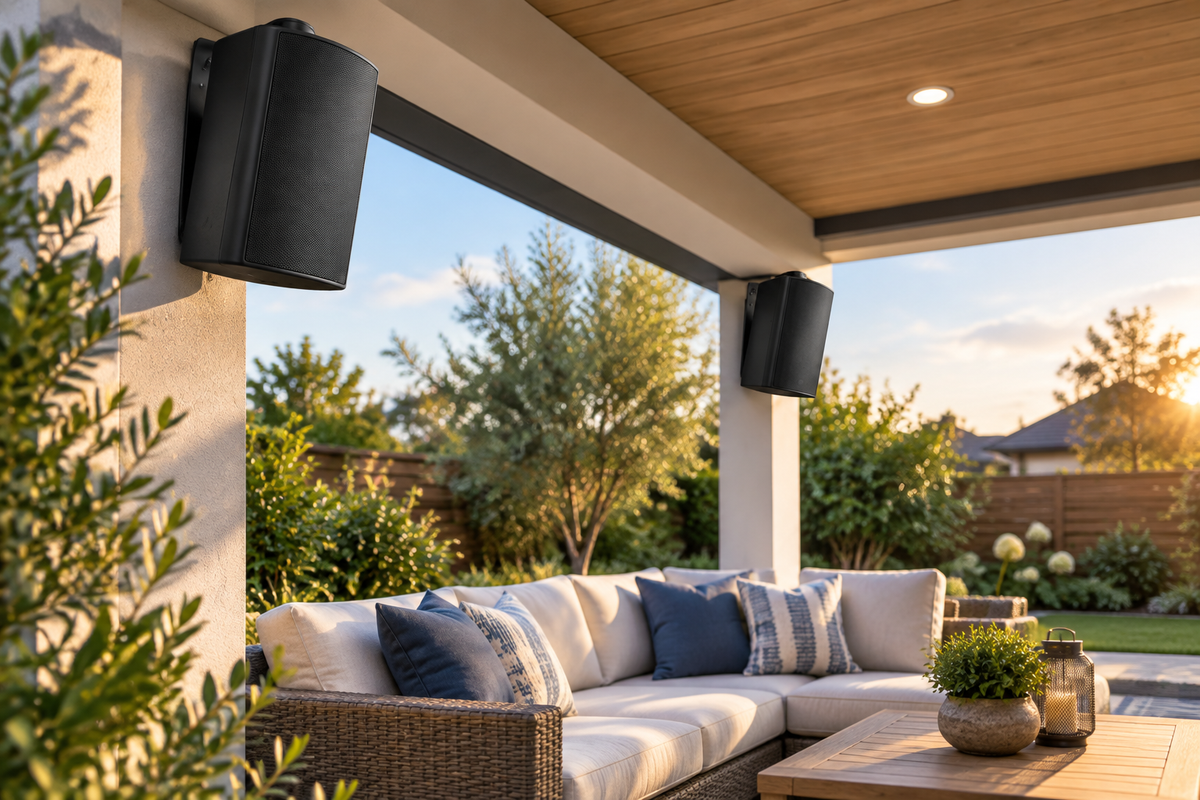
Outdoor speakers can transform a patio, deck, pool area, or garden into a space you actually want to use. But a good result depends on more than choosing a weather-resistant speaker. Positioning, cable routing, wall strength, drainage, and amplifier matching all matter.
This guide walks you through a clean, reliable outdoor wall-mount speaker installation, whether you are upgrading a small patio or building a wider backyard audio zone.
Before You Start: Plan the Listening Area
Start by deciding where people will actually sit and listen. Outdoor sound spreads differently from indoor sound because there are fewer walls to reflect it. Two speakers mounted too far apart can create quiet gaps, while speakers aimed directly at a wall can sound muddy.
- For a small patio, place the pair on opposite sides of the main seating area.
- For a deck or covered porch, mount the speakers slightly above ear level and angle them toward the seating.
- For a pool or garden, aim the speakers toward the listening zone rather than toward neighboring homes.
- Keep the left and right speakers at a similar height for a more balanced stereo image.
Choose a Strong, Protected Mounting Location
Look for a solid surface such as a masonry wall, structural post, or properly reinforced exterior wall. Avoid mounting directly into thin siding or a weak trim board unless you use suitable backing.
A covered location is usually the best choice, even for weather-resistant speakers. An eave or porch roof reduces direct exposure to rain and sunlight while still allowing the sound to travel into the listening area. Leave enough space behind and around the speaker for the bracket, cable connection, and future maintenance.
Tools and Materials You May Need
- Mounting brackets and hardware supplied with the speakers
- Drill and drill bits suitable for wood, brick, or concrete
- Level, measuring tape, pencil, and screwdriver
- Outdoor-rated speaker wire and weatherproof cable clips
- Sealant suitable for the mounting surface
- Wire stripper and connectors rated for the installation environment
- A compatible amplifier or receiver for passive speakers
Step 1: Mark the Speaker Positions
Measure the distance between the planned mounting points and mark the bracket holes. Use a level before drilling. Check behind the surface for electrical wiring, plumbing, or other obstacles, and follow local electrical and building requirements.
For stereo listening, keep the two speakers reasonably symmetrical. If one speaker must be closer to the seating area, your amplifier's balance control can help, but good physical placement is the better fix.
Step 2: Secure the Brackets
Use anchors and fasteners designed for the wall material and the weight of the speaker. Tighten the hardware firmly, but do not crush the bracket or damage the wall surface. On masonry, clean the drilled holes before inserting anchors. On wood, fasten into a solid structural point whenever possible.
Before attaching the speaker, gently test the bracket by applying controlled pressure. It should feel solid with no rocking or flexing.
Step 3: Route the Speaker Wire
Plan the cable route before connecting anything. Keep cable runs neat, protected from sharp edges, and away from sources of heat. Use outdoor-rated wire for exposed areas, and secure it with clips rather than allowing it to hang or rest on the ground.
If the cable passes through an exterior wall, use a suitable grommet and weatherproof seal. Create a small downward drip loop before the cable enters the wall or connection point. This helps prevent water from following the cable into the opening.
Step 4: Connect the Speakers to the Amplifier
Outdoor wall-mount speakers are commonly passive, which means they need an amplifier or receiver. Switch the amplifier off before making connections. Connect positive to positive and negative to negative on both channels, and keep the left/right wiring consistent.
Check the amplifier's impedance and power guidance before turning the system on. The goal is not simply the highest wattage number. A correctly matched amplifier delivers cleaner sound and reduces the risk of clipping or speaker damage.

Herdio Passive Outdoor Speakers | Waterproof Wall-Mount Patio Speakers
Multiple sizes and power options available
Wired wall-mount speakers for patios, pools, decks, and gardens. Choose the size and power range that fits your outdoor space.
Step 5: Attach the Speakers and Set the Angle
Connect the wires while the speaker is supported, then attach the speaker to the bracket according to the manufacturer's instructions. Aim the speaker toward the main listening area, not straight down or directly at a hard wall.
Leave the adjustment screws tight enough to hold the angle, but not so tight that future adjustment becomes difficult. If the speakers include swivel brackets, make small angle changes during testing rather than guessing from the ground.
Step 6: Test at Low Volume First
Turn the amplifier on and begin at low volume. Test both channels separately, then listen to them together. Confirm that the sound is clear, the left and right channels are correct, and there is no buzzing, crackling, or intermittent connection.
Walk around the patio or yard and listen from the places where people will sit. If the sound is too bright or harsh, try adjusting the angle before changing the amplifier settings. If the sound is uneven, review speaker spacing and channel balance.
Common Outdoor Speaker Installation Mistakes
- Mounting too high: Excessive height can make the sound feel distant. Mount above ear level, but keep the speaker close enough to aim accurately.
- Using indoor cable outdoors: Outdoor exposure can damage unsuitable wire and connections. Use cable rated for the route and protect every entry point.
- Ignoring water paths: A cable entering from above can carry water into the wall. Use a drip loop and weatherproof sealing.
- Overdriving the amplifier: Distortion is a warning sign. Lower the volume or use a better-matched amplifier instead of pushing the system harder.
- Pointing both speakers in the same direction: This can leave part of the listening area uncovered. Aim each speaker to support the whole zone.
Final Checklist
- Brackets are secured to a suitable surface.
- Speaker wire is protected, tidy, and correctly polarized.
- Wall penetrations are sealed and cables have drip loops.
- The amplifier matches the speaker system's requirements.
- Both channels work clearly at low and normal listening volume.
- Speakers are aimed toward the listening area and do not disturb neighboring spaces.
With the right placement and weather-aware installation, outdoor wall-mount speakers can deliver clear, enjoyable sound for years of patio dinners, pool days, and backyard gatherings.
Herdio Passive Outdoor Speakers | Waterproof Wall-Mount Patio Speakers
Built for patios, decks, pools, and gardens
Explore the available sizes and power options for a cleaner outdoor audio setup.
Ready to build your outdoor audio setup? Browse the Herdio outdoor speaker collection and choose the format that fits your space.